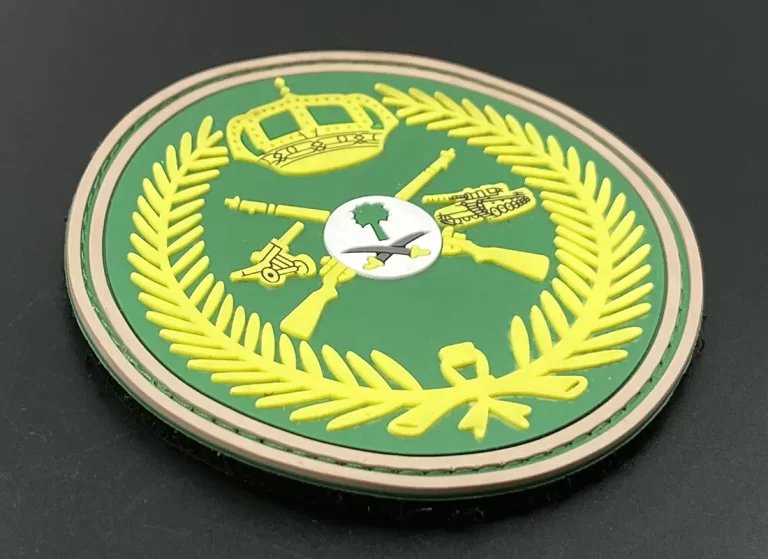
How to Make PVC Patches at Home?
Creating PVC patches at home can be a fun and rewarding project, especially if you enjoy crafting and want to personalize your items. PVC patches are durable, flexible, and can be customized to suit any design. Here’s a step-by-step guide to help you make your own PVC patches at home.
Materials Needed
Before you start, gather the following materials:
- PVC Sheets: Available in various colors.
- Design Template: Your desired patch design.
- Cutting Tools: Scissors or a craft knife.
- Heat Press or Iron: For setting the design.
- Adhesive: Fabric glue or double-sided tape.
- Protective Gear: Gloves and safety glasses.
Step 1: Design Your Patch
Start by creating a design for your PVC patch. You can draw your design by hand or use graphic design software. Ensure the design is clear and detailed, as this will be transferred onto the PVC sheet. If you’re not confident in your drawing skills, you can find templates online or use a simple logo.
Step 2: Prepare the PVC Sheet
Once you have your design, print it out and place it on the PVC sheet. Use a pencil to trace the design onto the PVC. Make sure the lines are clear and visible. If you’re using multiple colors, you’ll need to trace each color separately on different PVC sheets.
Step 3: Cut Out the Design
Carefully cut out the traced design using scissors or a craft knife. Take your time to ensure the edges are smooth and precise. If your design has intricate details, use a smaller blade for better accuracy. Remember to wear protective gear to avoid any injuries.
Step 4: Assemble the Patch
If your design has multiple colors, start assembling the pieces together. Use fabric glue or double-sided tape to attach the different colored PVC pieces. Ensure each piece is aligned correctly to match your original design. Press down firmly to secure the pieces in place.
Step 5: Heat Press the Patch
To set the design, use a heat press or iron. Place a piece of parchment paper over the patch to protect it from direct heat. Apply heat evenly over the patch for about 10-15 seconds. This will help the adhesive bond better and make the patch more durable. Be careful not to overheat, as this can damage the PVC.
Step 6: Attach the Patch
Once your patch is ready, you can attach it to your desired item. Use fabric glue or sew it onto clothing, bags, or hats. If you prefer a removable option, use Velcro strips. Ensure the patch is securely attached and won’t come off easily.
Tips for Success
- Practice Makes Perfect: If you’re new to making PVC patches, start with simple designs and gradually move to more complex ones.
- Use Quality Materials: High-quality PVC sheets and adhesives will result in a more durable and professional-looking patch.
- Be Patient: Take your time with each step to ensure the best results. Rushing can lead to mistakes and a less polished final product.
Conclusion
Making PVC patches at home is a creative and enjoyable process. With the right materials and a bit of patience, you can create custom patches that reflect your personal style. Whether you’re making patches for yourself or as gifts, this guide will help you achieve professional-looking results. Happy crafting!
I hope this article helps you with your project!


